DIY Epoxy Floor
After receiving the keys to our new house, there were two projects we needed to get done before we moved in any of our belongings.
First: Refinish the wood floors on the mail living level of the interior of the home. (I’ll save that one for another post)
Second: Epoxy the garage floor.
The garage floor wasn’t in terrible shape to begin with, but it certainly needed some love. There was an existing coat of something already on the floor that was pretty worn. We also had cracks in the cement that needed repairing too.
This was a project my neither my husband or I had ever done before so there was a bit of research that went into to it before we started. Everything I found online, and from people I had spoken to who did this in their own garage, all said the preparation in this project is tedious but very important to ensure great results in the end.
Before You Start—
When doing epoxy on the garage floor, you will want to make sure you have a plan for all of the items currently located in the garage. We often don’t realize how much stuff we have and quickly realize there isn’t a place to safely store everything while doing the project.
If your plan is to leave your items outside, make sure the future weather forecast is rain-free for at least 3 consecutive days. You don’t want all of your belongings getting wet and ruined while outside.
A word to the wise — This is definitely not a project that can be done in a day or two.
Now that we’ve gotten all that figured out, it’s time to get to work on the floor!
Items You Need—
Rustoleum Epoxyshield Garage Floor Coating Kit
Rustoleum Cleaner & Degreaser for Concrete
Rustoleum Concrete Patch & Repair Kit
Rustoleum Paint Chips (because more is always better!)
Rustoleum Anti-Skid Additive (optional)
Diamabrush Coating Removal Tool
Heavy Duty Scrub Brush
Putty Knife
Foam Floor Squeegee
Hose
Water
Power Washer (Optional)
1/2” synthetic nap roller
9” paint roller frame
Paint Tray
Chip Brush
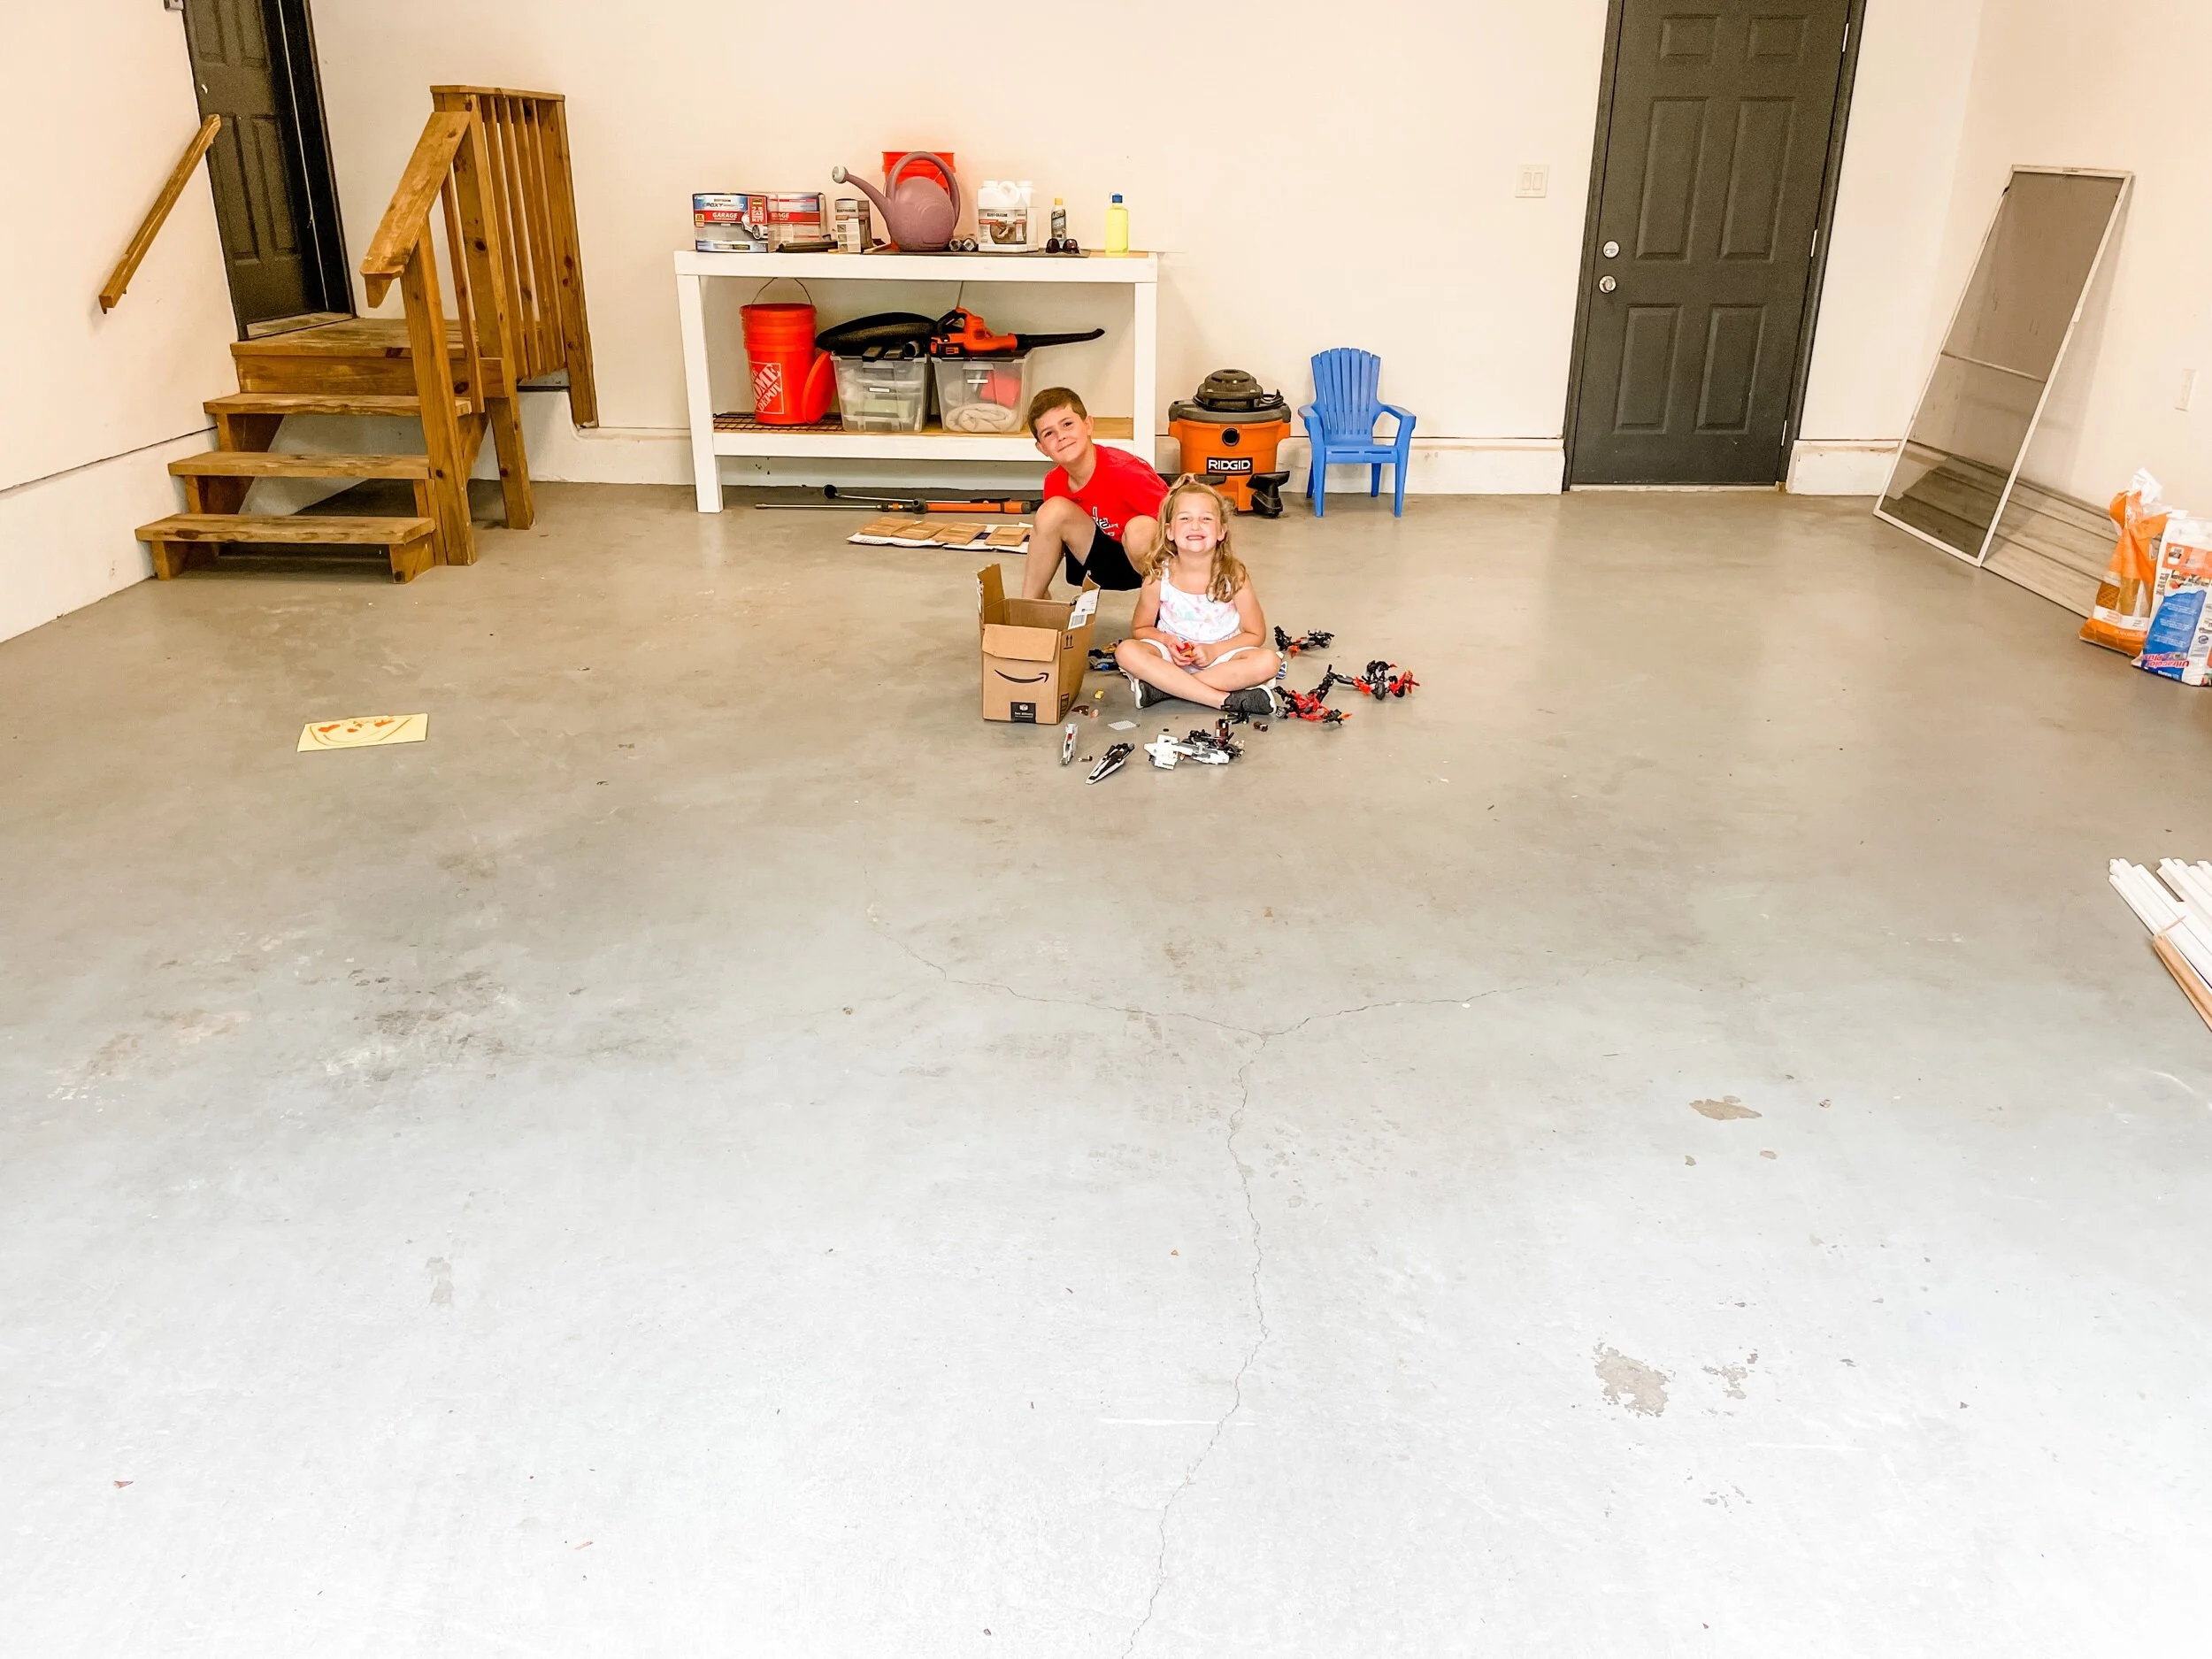
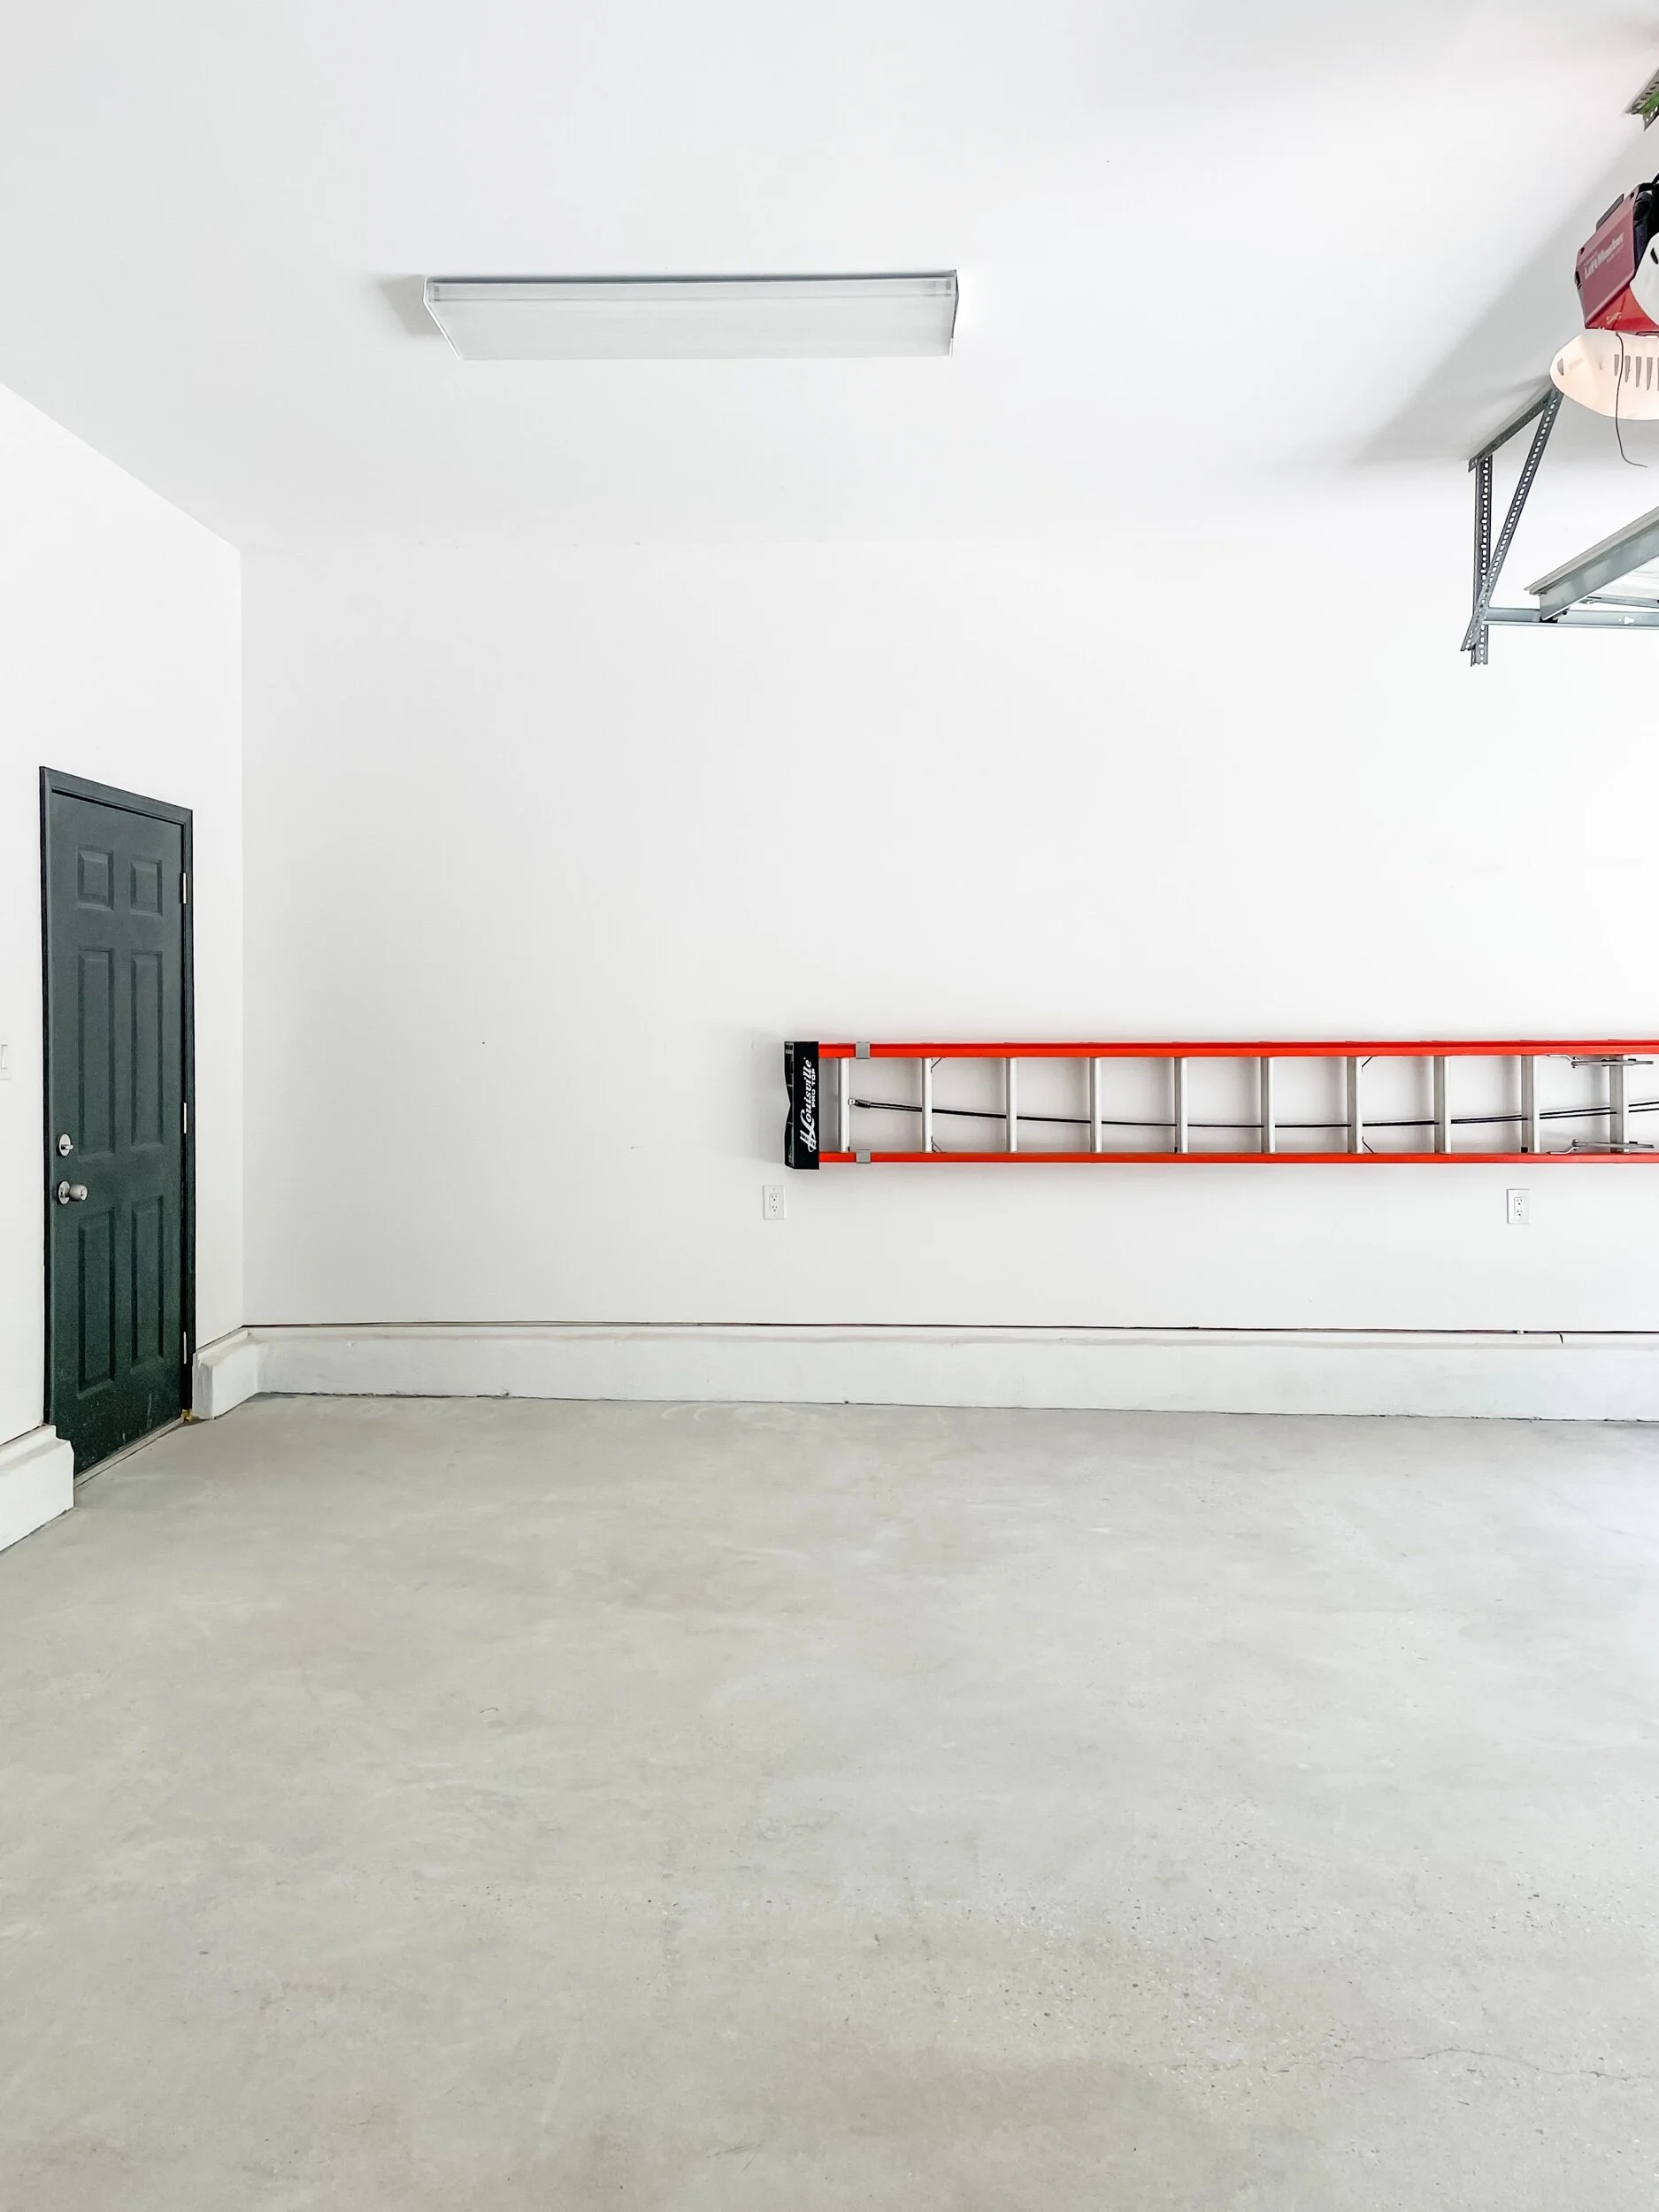
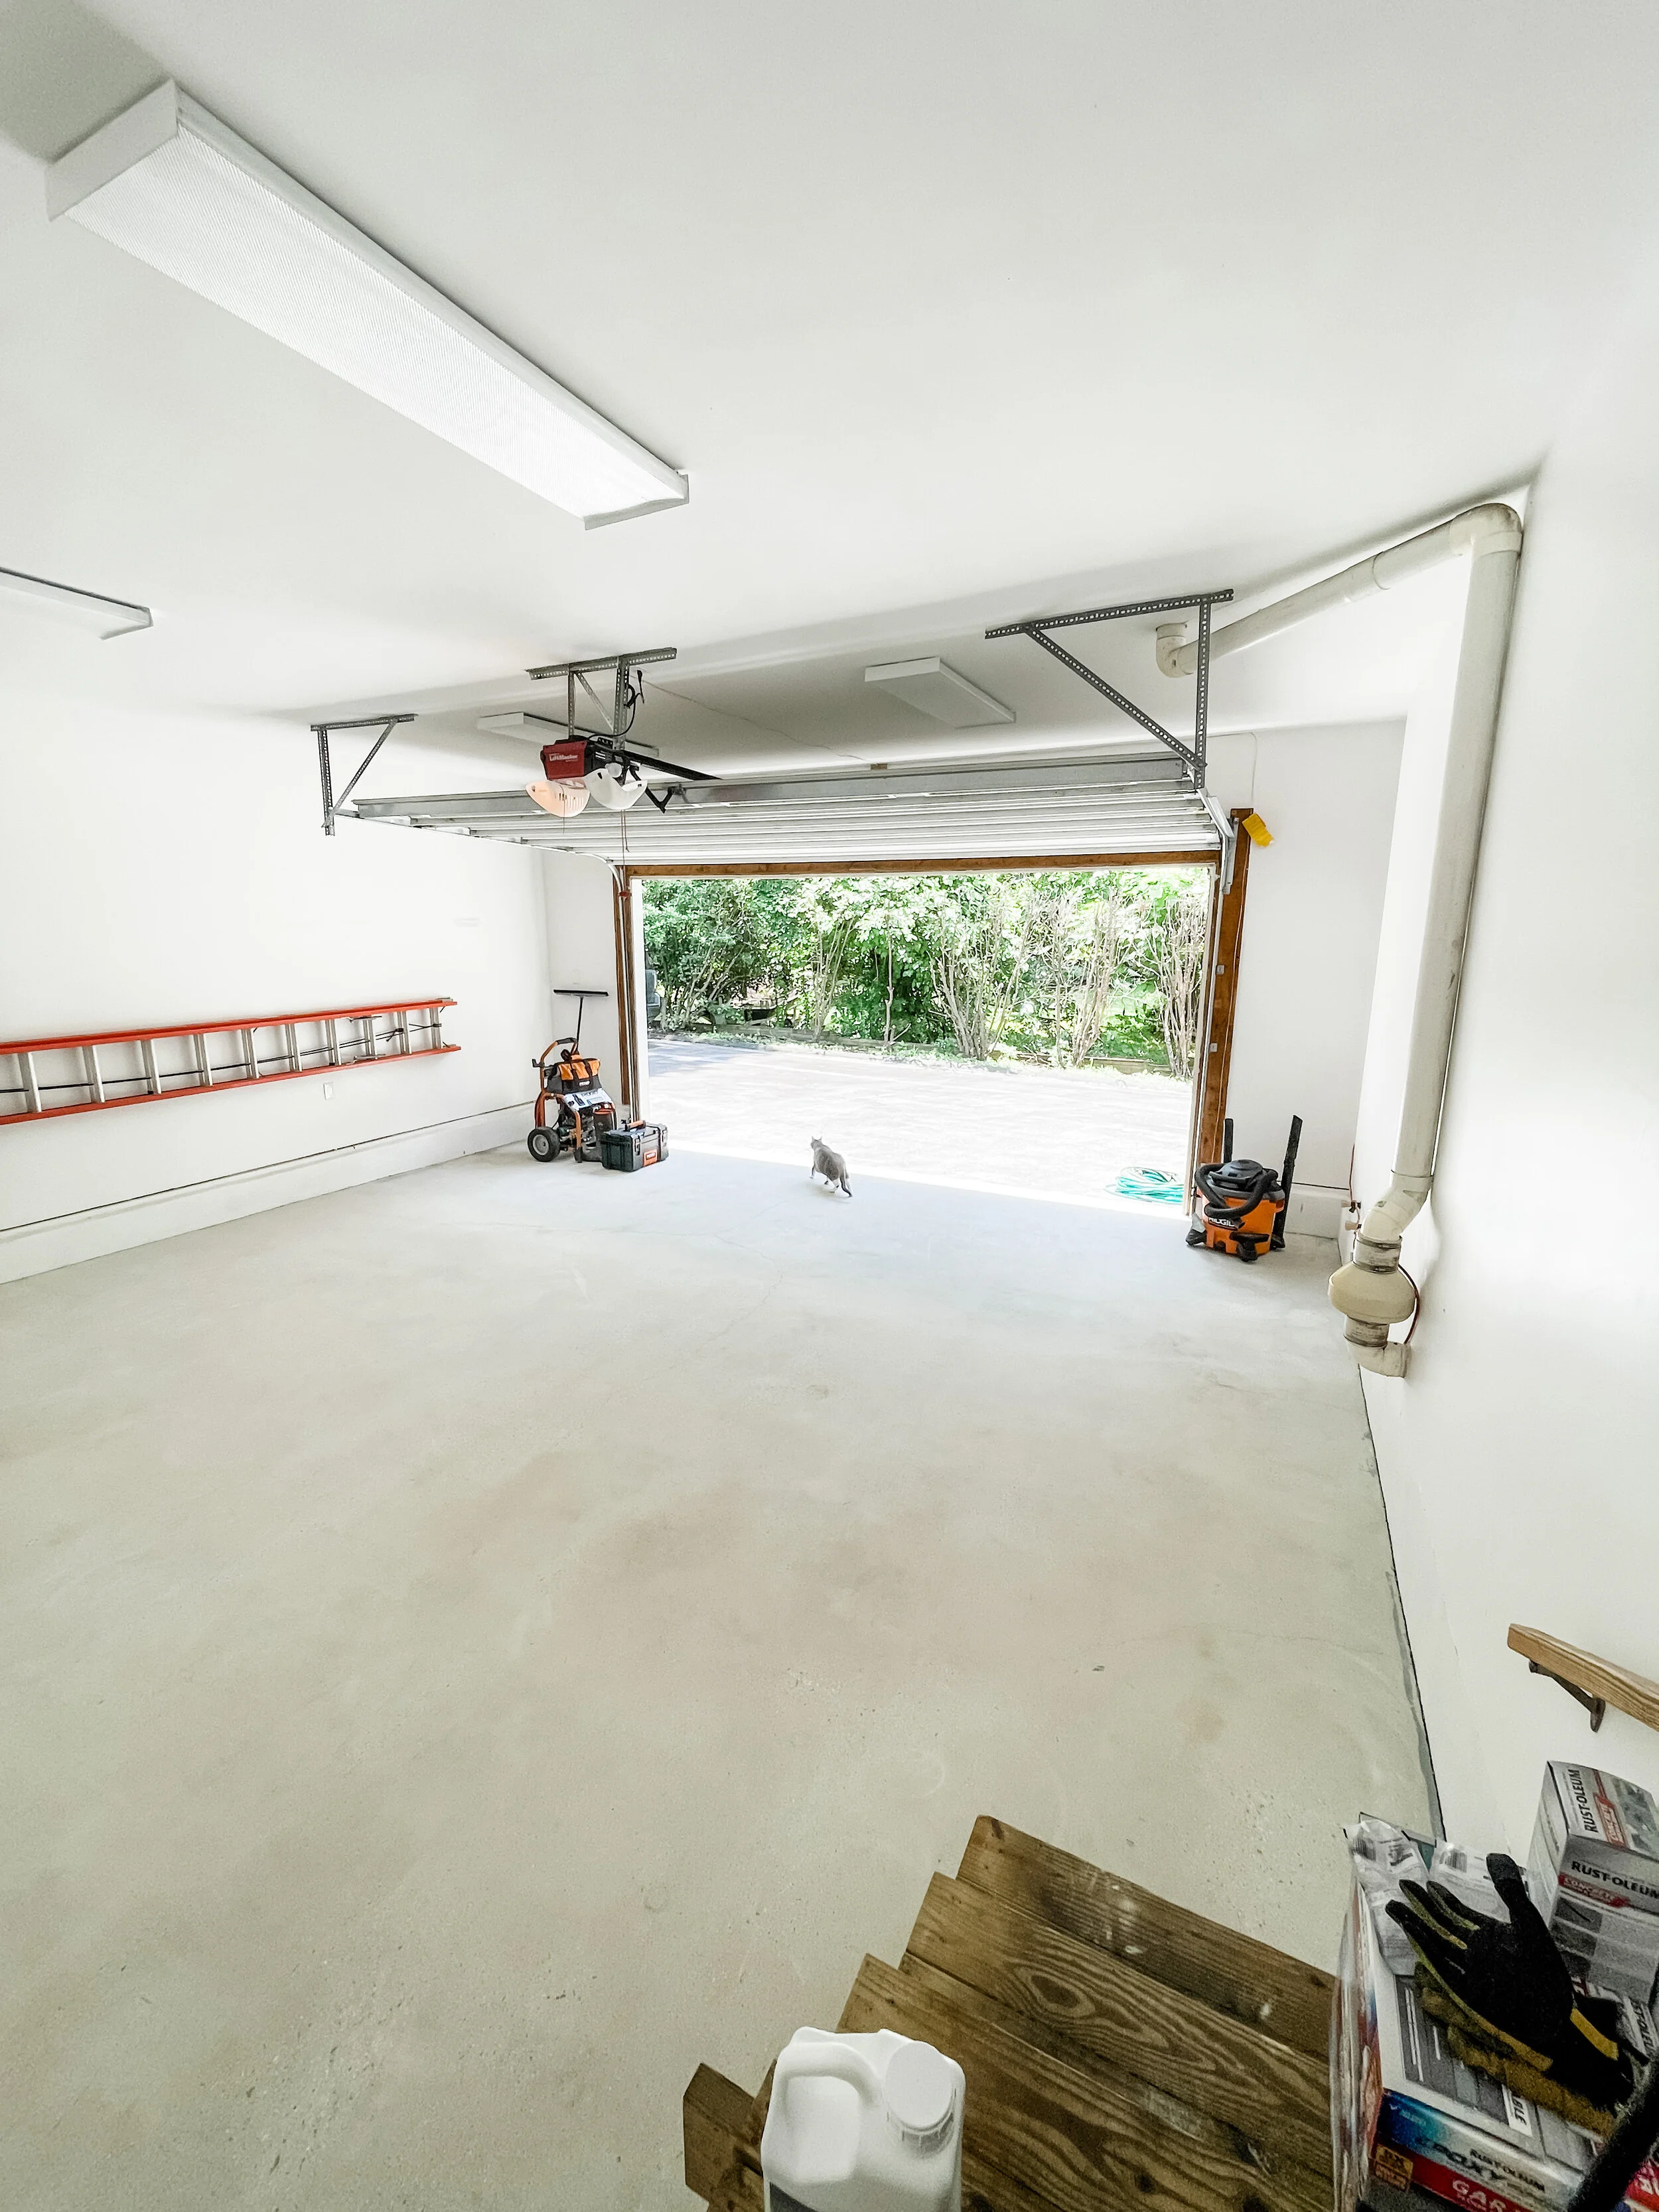
The Before Images
In the images below, you can see hot tire pickup marks and cracks in the cement near the center of the floor. If you’re not sure what hot tire pickup is, let me enlighten you. After longer periods of driving, the tires on your car heat up. When the tires heat up they expand. The heat from the tire is so intense that when the car pulls into the garage to park, the heat transfers into the coating on the floor. When the tires cool they shrink back to size and the coating on the garage floor pulls up from the concrete, thus sticking to the tire.
Lucky you! Now you’ve got a busted garage floor and epoxy paint gunk is stuck to the bottom of your tires.
No bueno.


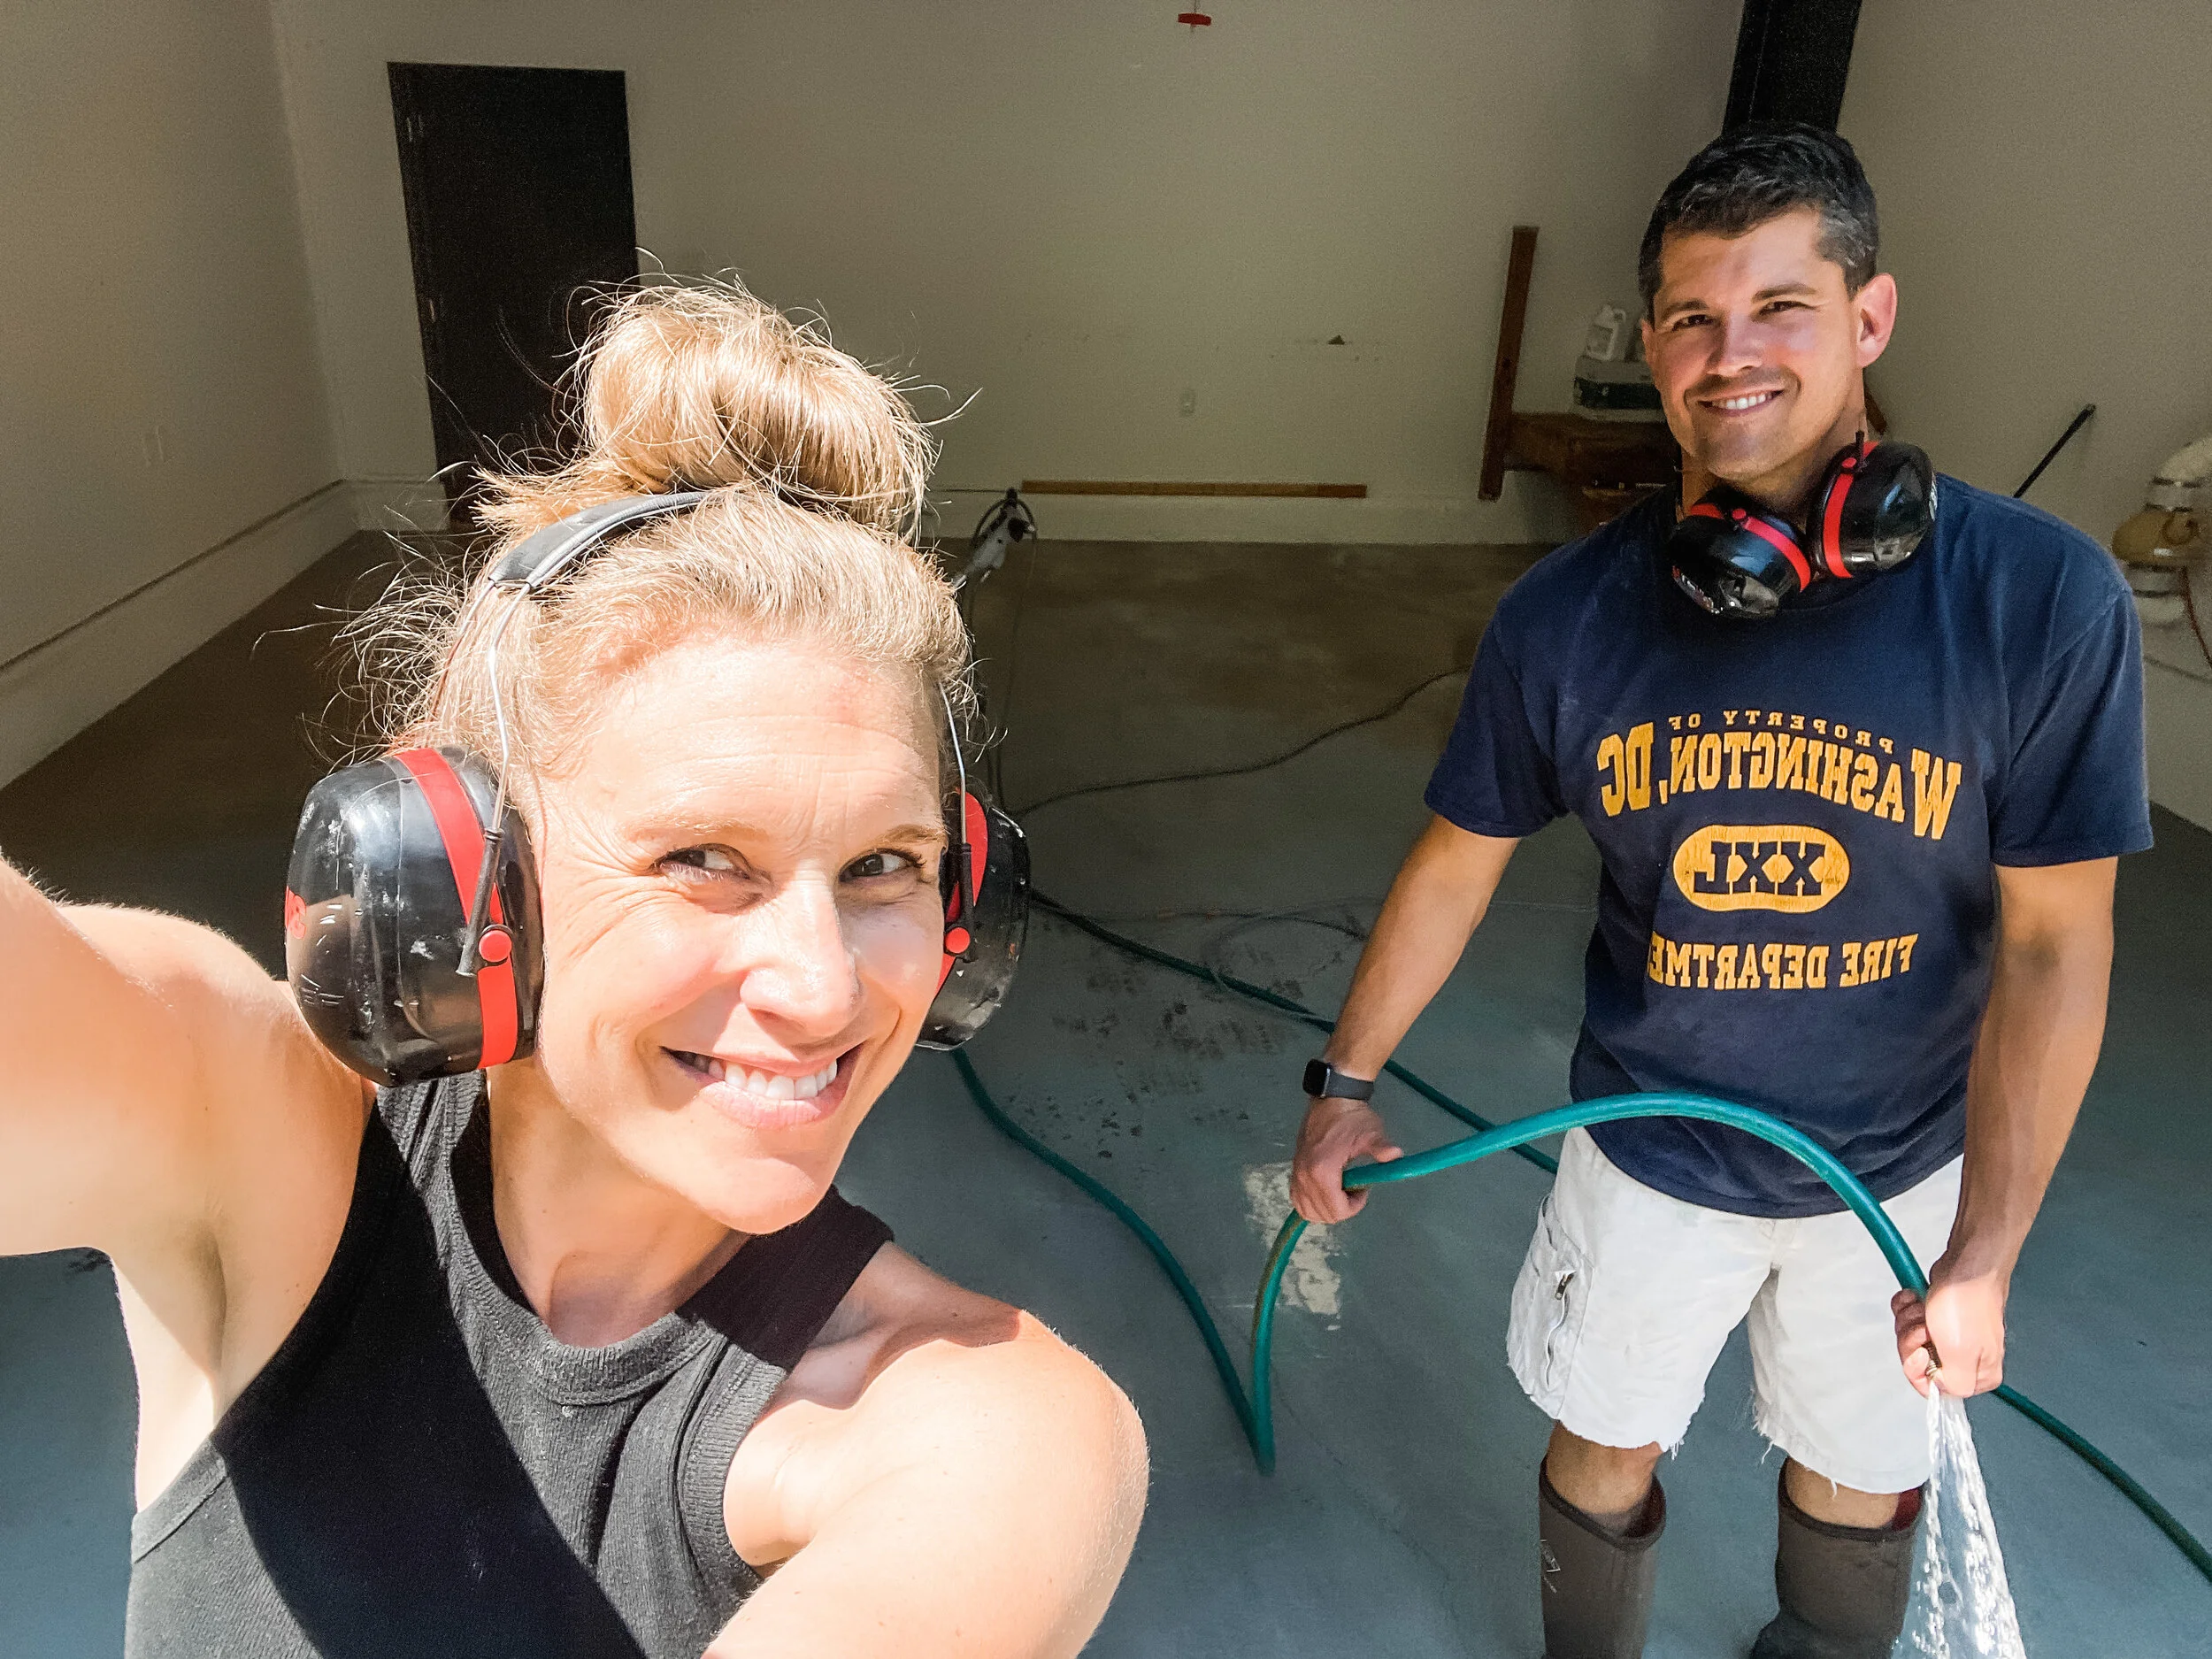
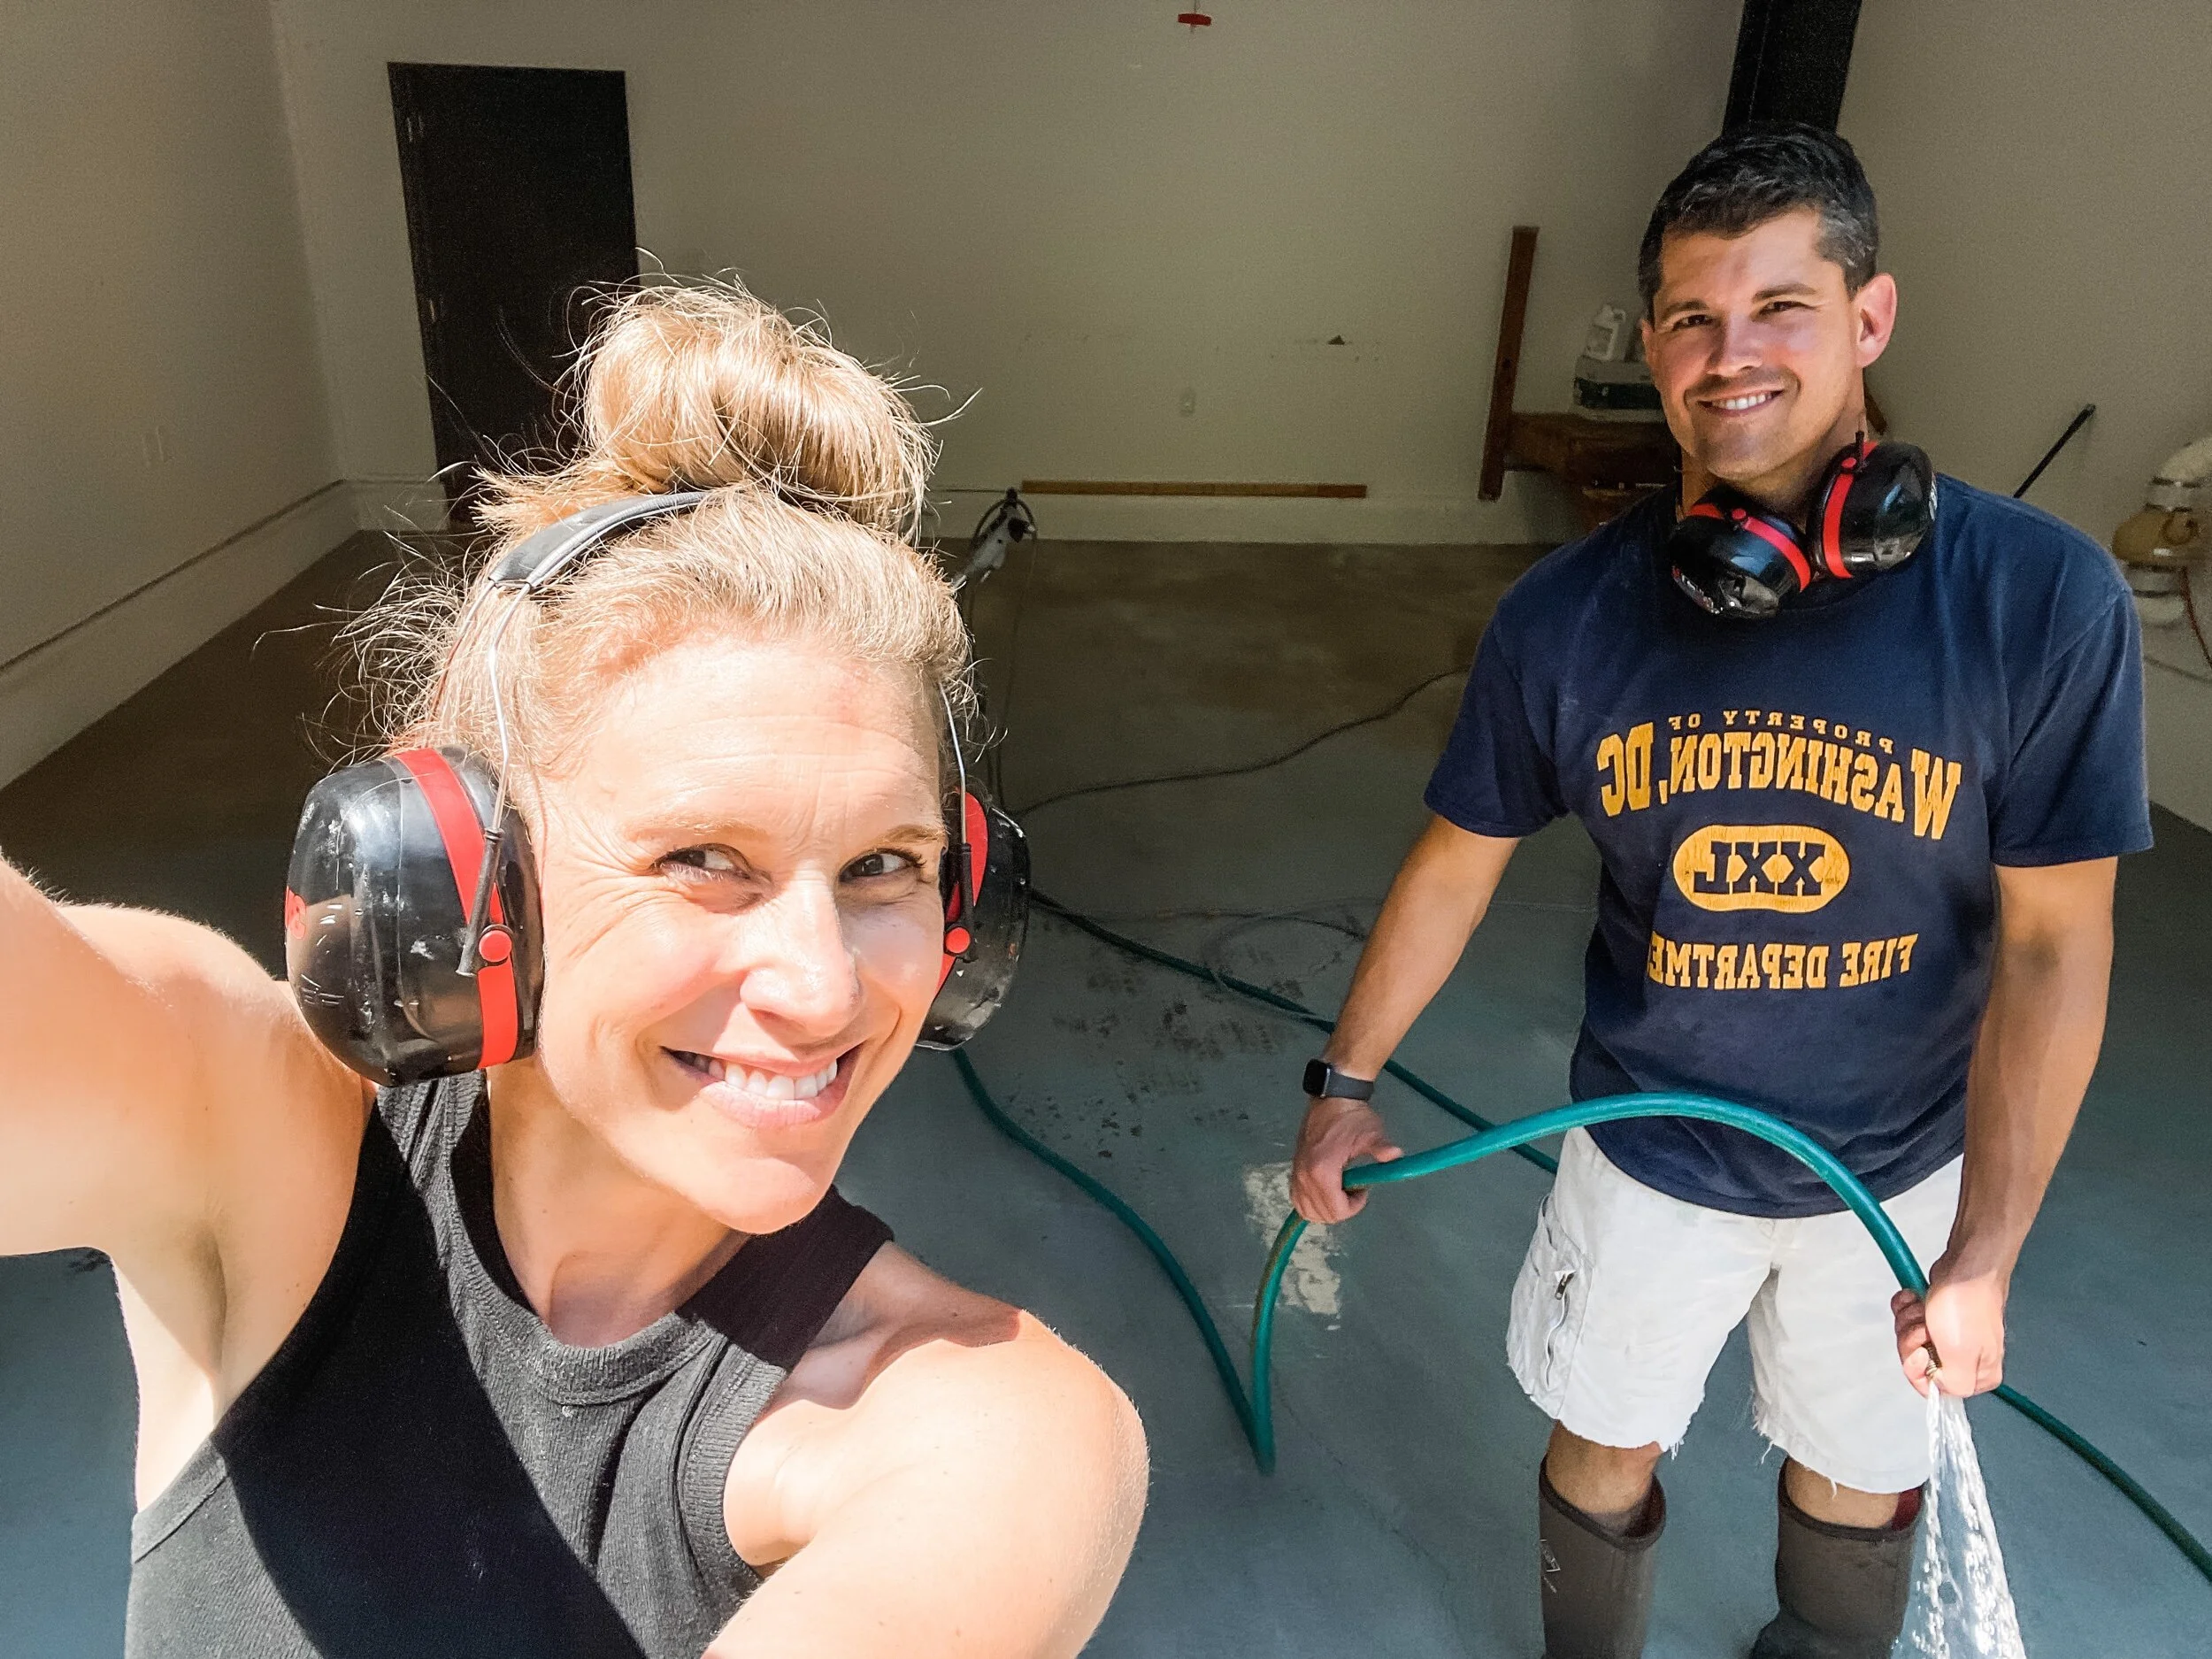
The Process
In order to ensure you have long lasting results with your epoxy floor, you will first need to start by:
Completely clearing out the garage. Take everything out and move it away from the garage so it won’t get wet and damaged later on during the cleaning steps.
Remove any preexisting coating on the garage floor with a floor polisher. Use a coating removal tool attachment to wet sand the floor. Note: If there is no coating preexisting on the floor, you will need to use a heavy duty degreaser to thoroughly clean it prior to moving on to next steps.
Clear any excess water from the floor with the foam floor squeegee. This will help clear the debris from the cleaner and also allow for faster drying times.
The Middle Images
4. Seal any cracks in the floor with the Rust-oleum Concrete Patch & Repair Kit
Note: If you do not sand down the patch lines they will show through the epoxy layer and have a different texture than the concrete flooring. I, regretfully, did not do that step. The patch lines are discreet, but still visible.
5. Follow the mixing instructions on the Rust-oleum Garage Epoxy kit to determine the amount of time you need to let the epoxy stand after mixing.

The stand time is dependent on the temperature outside and whether or not the application is a brush or roller. It’s important to note the product has a short pot life so working quickly is imperative. If the temperature is 60-70 degrees, the best time to paint is mid-afternoon (after 1pm) to ensure the best curing conditions and maximum pot life. If temps are 71-80 degrees, the best time to paint is early morning (before 9am) to ensure the best curing conditions and maximum pot life. If temperatures exceed 80 degrees, I suggest waiting for a cooler day to paint.
6. Once everything has set, pour the mixed material into a roller tray. Cut in the perimeter of the floor along the wall, or other areas where the roller cannot reach. Limit the application to 4x4 foot sections at a time to evenly distribute the colored paint chips onto the freshly coated surface.
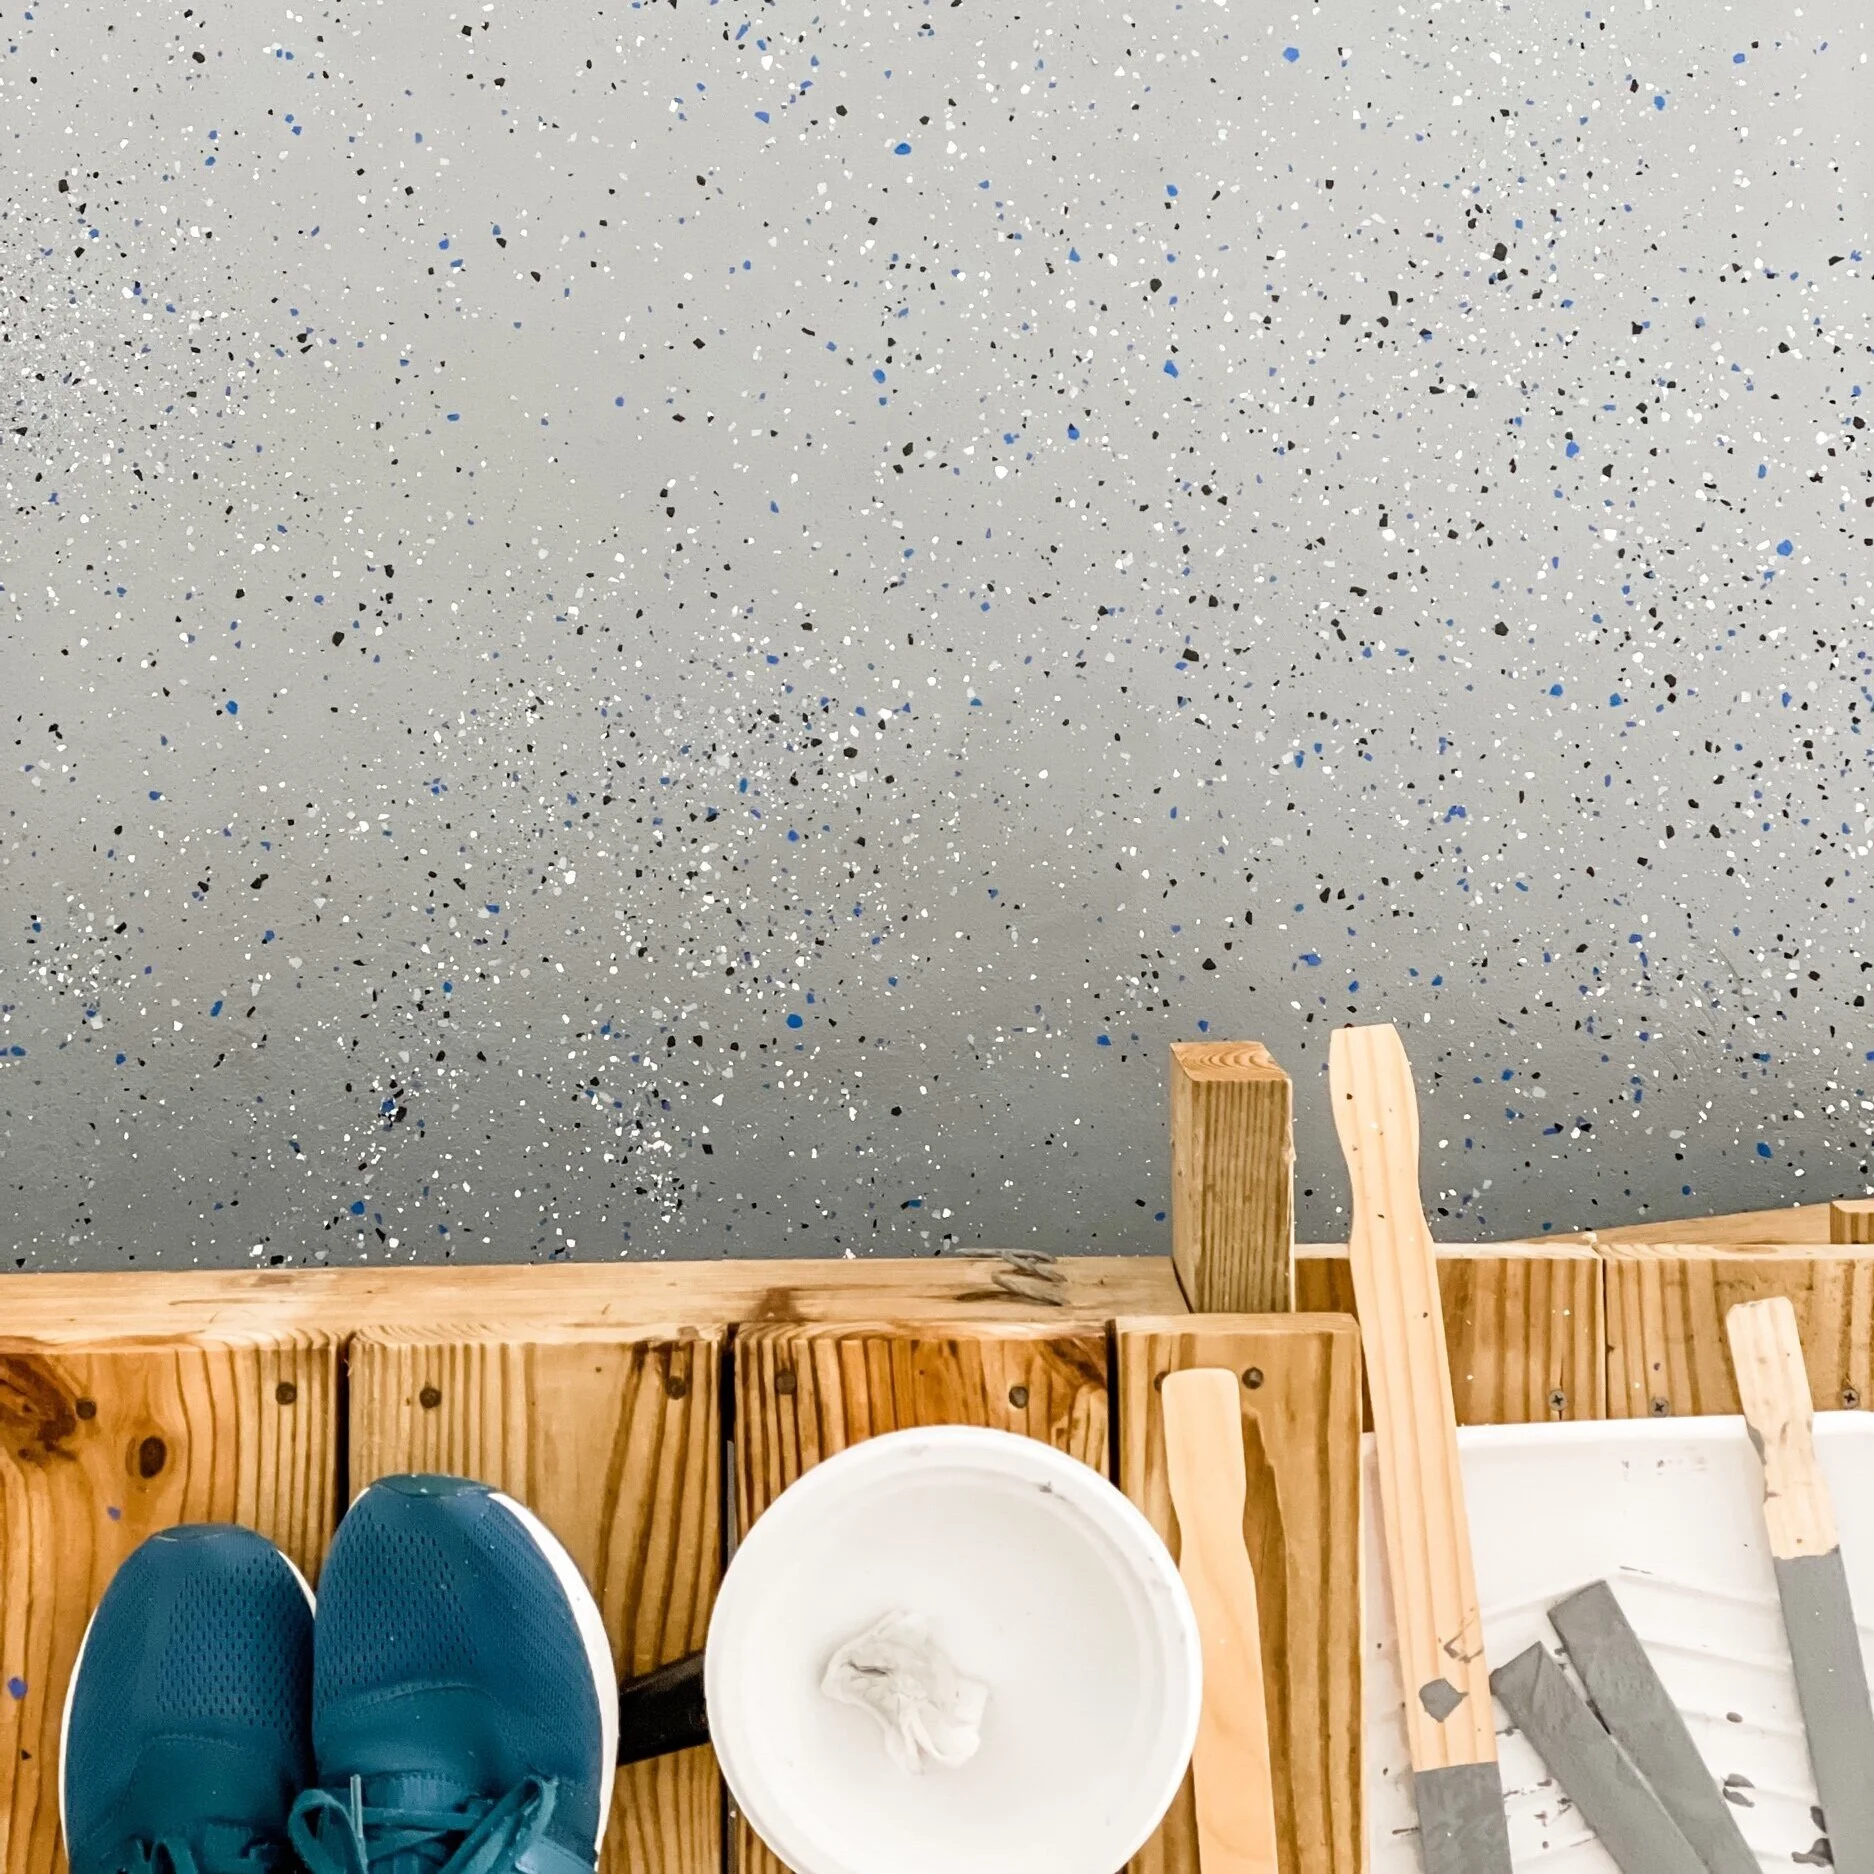
7. Scatter the paint chips UP and AWAY so they land flat on the wet paint. Have FUN with this part!! There is no right or wrong look. It’s all about your personal preference on how much to use and in what patterns.
8. Maintain a wet edge to prevent lap marks and gloss differences.
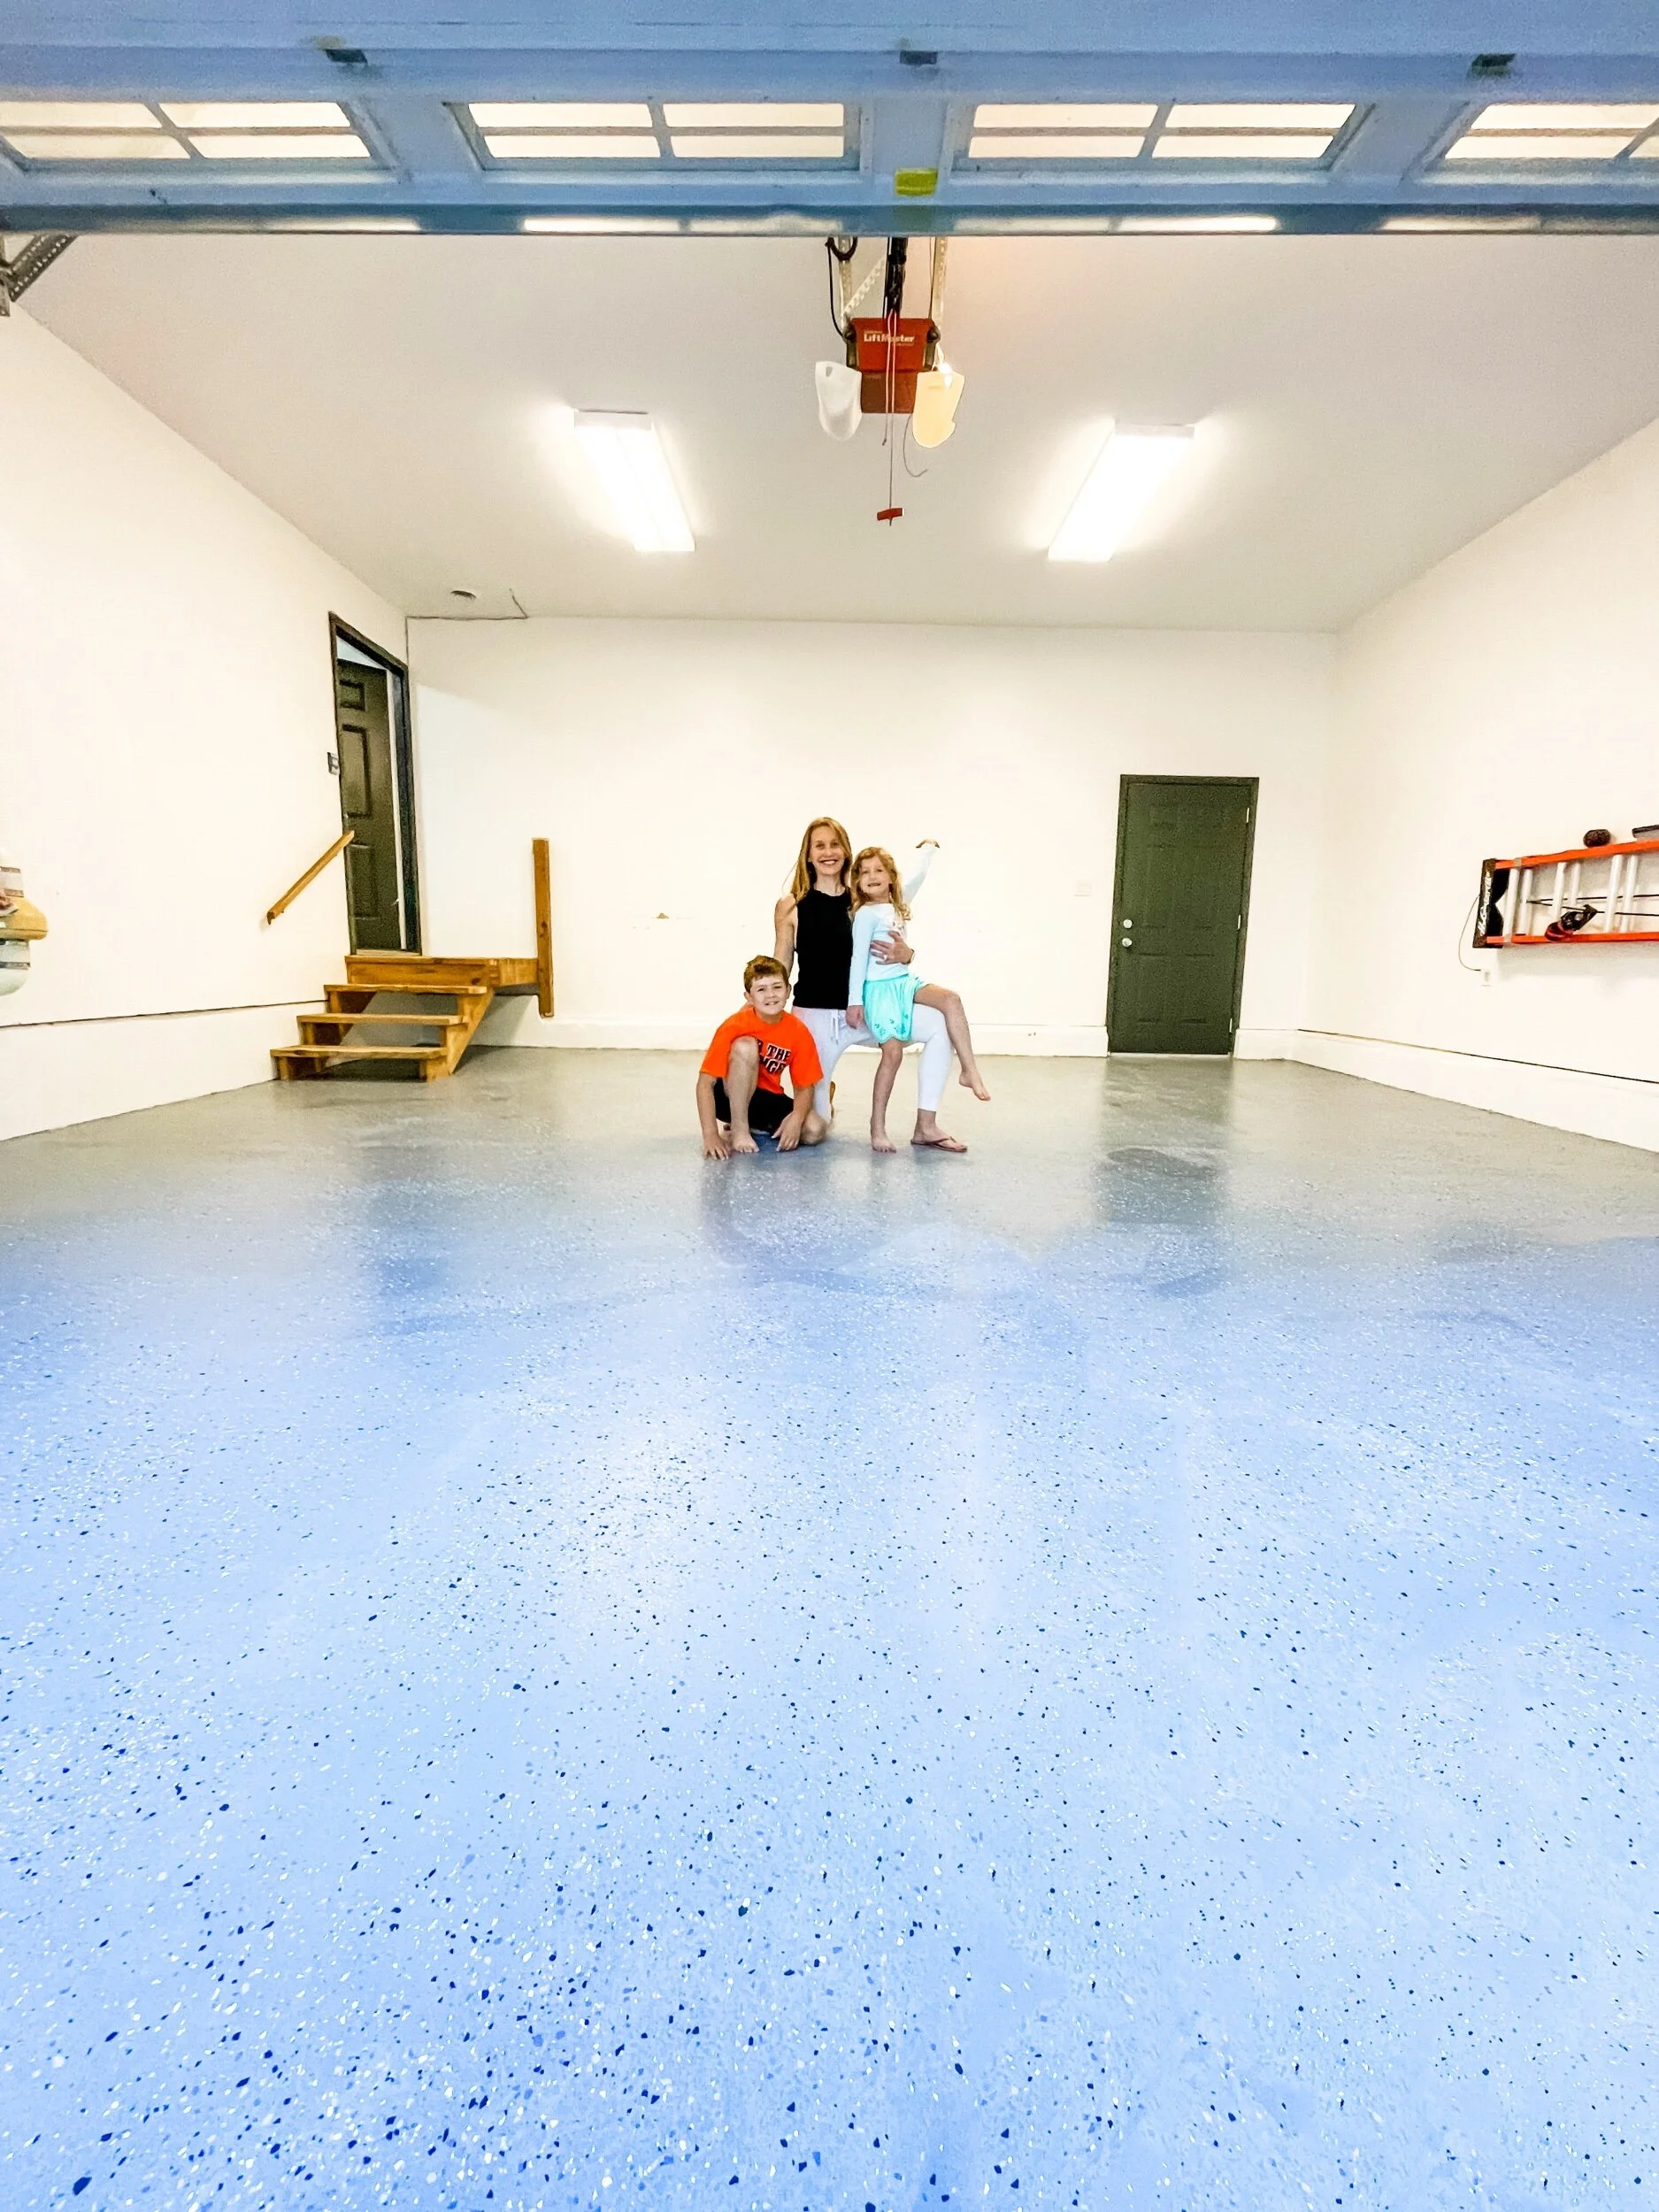
The GRAND Reveal
We let the floor dry 16 hours before walking on it and a full 36 hours before moving any of our belongings back into the garage. I’m very happy with the end result, despite having some veining in the epoxy paint due to my patching job. Learn from my mistakes and sand down the filler used to patch the cracks! If you don’t, it will be visible in the end.
This project challenged us at a very challenging time, but we managed to come out on top and create a new space for ourselves that we love and can be proud of.


Watch the YouTube video here!